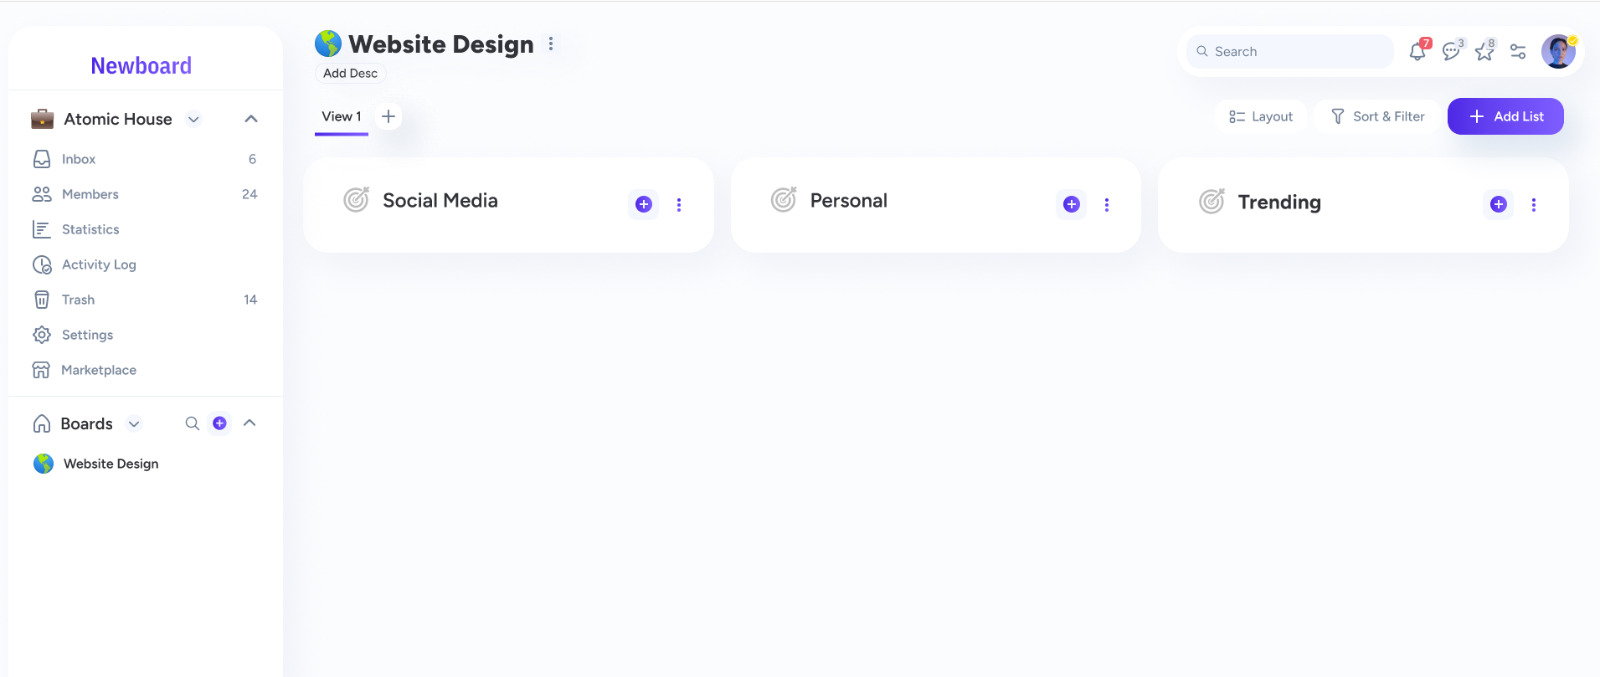
Setting Up Workspaces in Newboard: A Step-by-Step Guide
Welcome to Newboard! Workspaces are virtual collaboration rooms where you can organize and share content with others. Follow these simple steps to create your workspace and start collaborating effectively.
Step 1: Name Your Workspace
After signing up, create a workspace by giving it a unique name. This helps you identify its purpose, whether it's a project or team name. Click 'Next' to move forward.

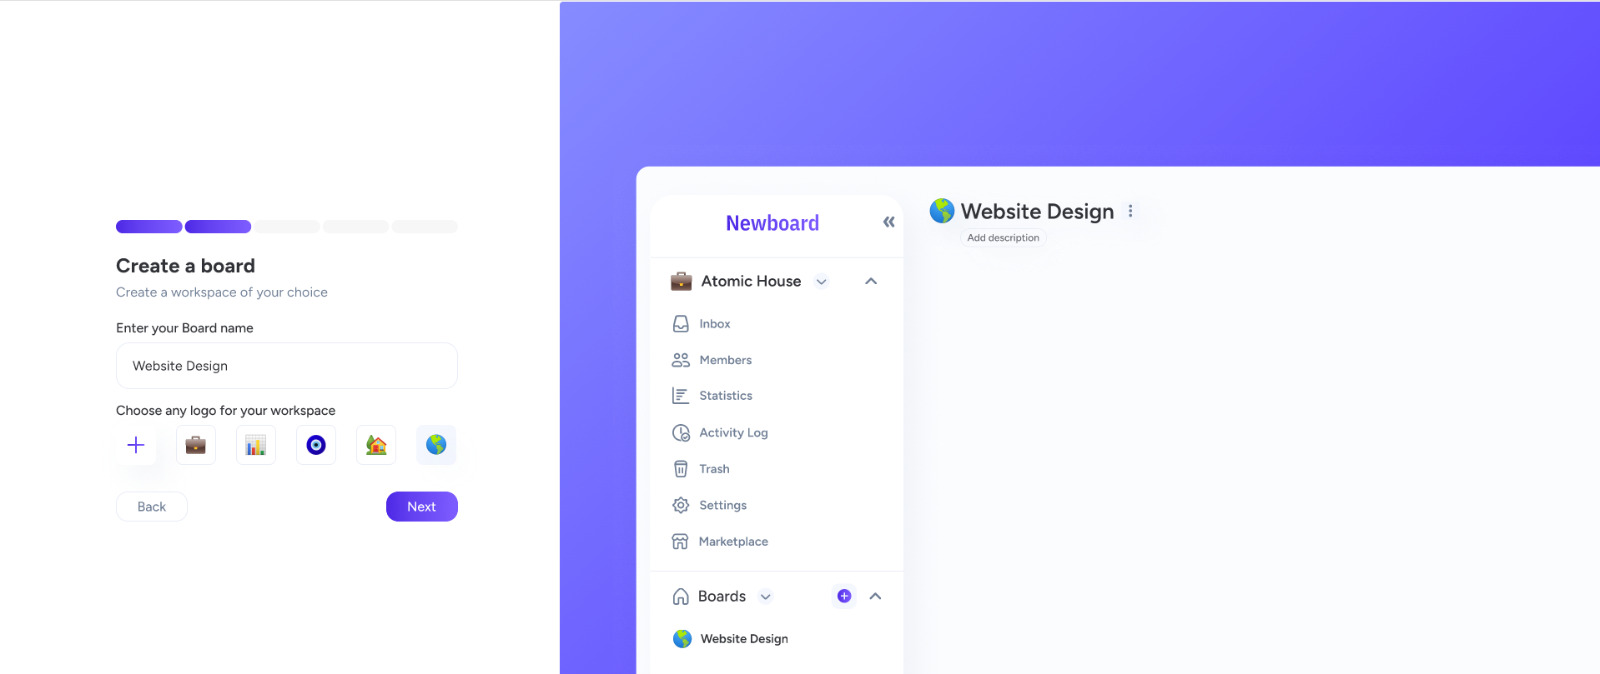
Step 2: Create a Board
Once you've named your workspace, the next step is to create a board. Boards are like containers where you can manage lists of bookmarks related to specific topics or tasks.
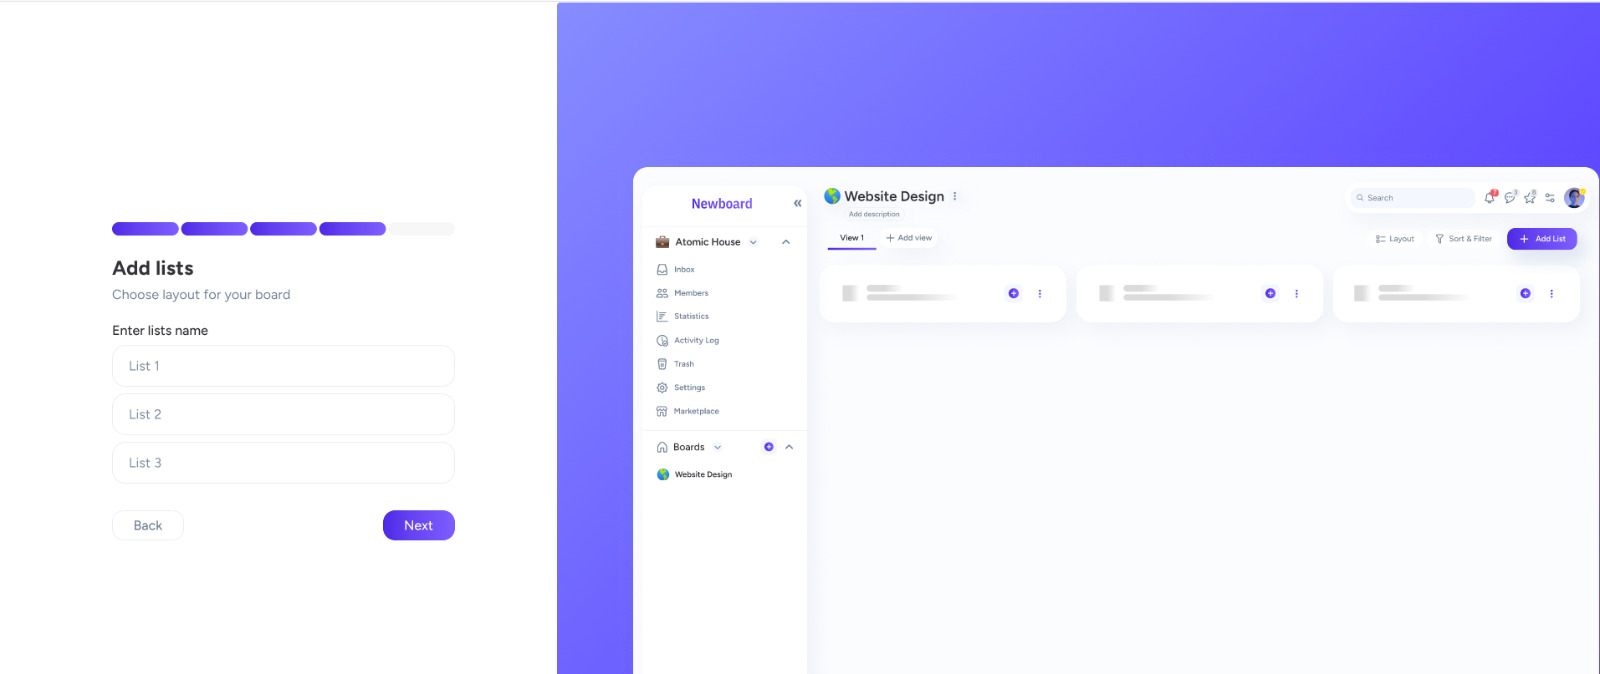
Step 3: Add Lists to Your Board
With your board created, now it's time to add lists to it. Lists allow you to further categorize your bookmarks within a board. Click 'Next' to proceed to the next step of customizing your workspace.
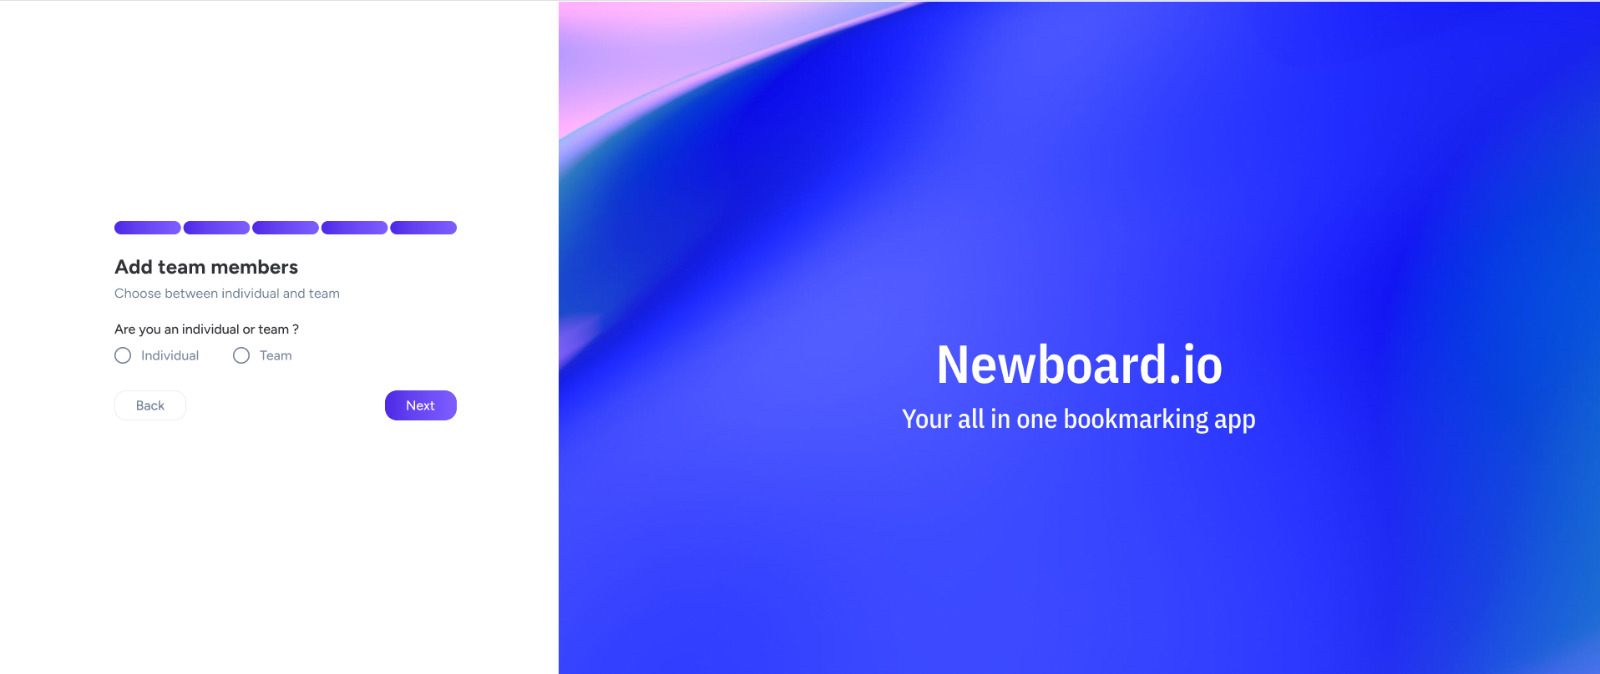
Step 4: Choose Workspace Type
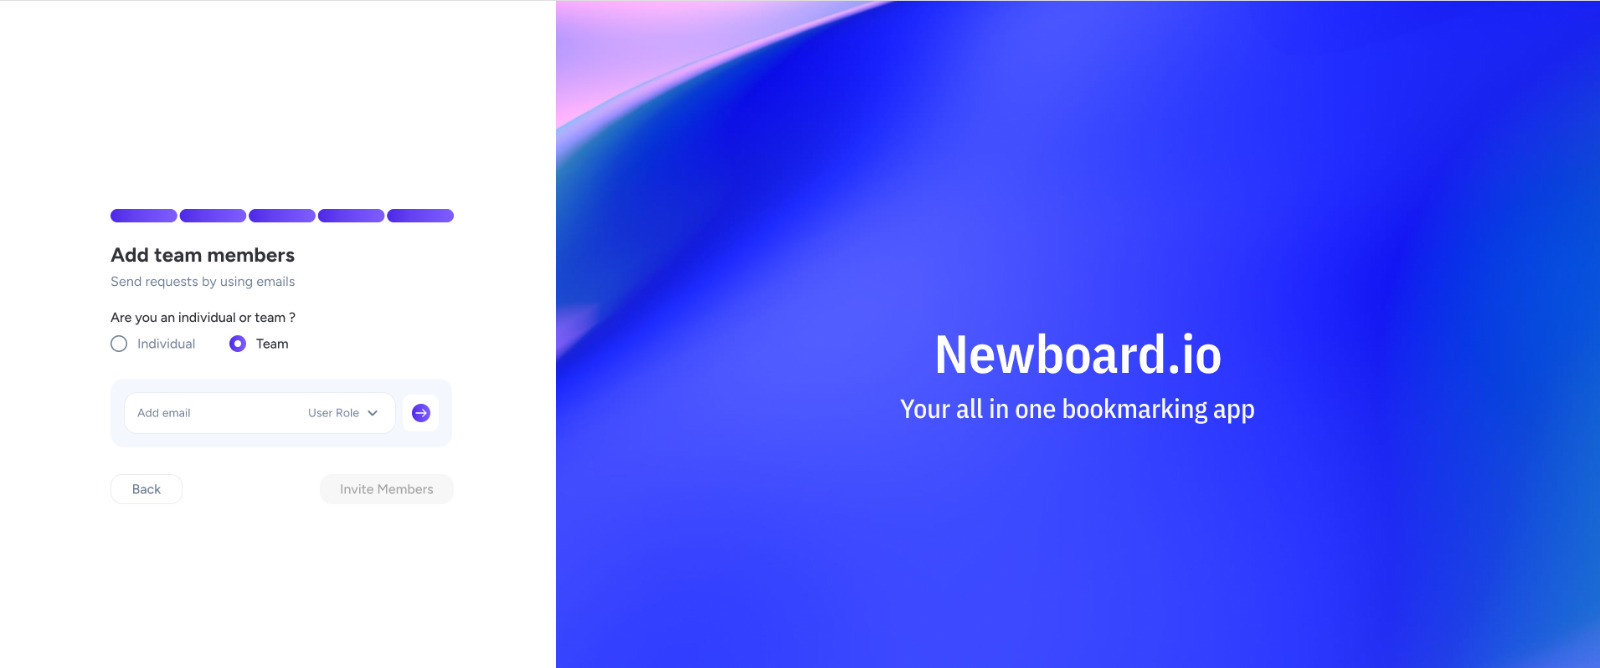
As you progress through the setup process, you'll be asked to choose the type of workspace you want to create. Depending on your needs, you can select between 'Individual' for personal use or 'Team' for collaboration with a team. This choice determines the features and settings available within your workspace, so pick the option that best suits your requirements.
Step 5: Invite Team Members (Optional)
If you opt for a 'Team' workspace, you'll have the option to invite team members to join your workspace. By entering their email addresses and sending them an invitation, you can easily bring your team onboard for seamless collaboration. Once they accept the invitation, they'll become members of your workspace, allowing them to contribute and access shared resources.
Step 6: Workspace Created!
Congratulations! Your workspace is now set up and ready to go. You can start adding bookmarks, organizing lists, and collaborating with your team if you've invited members.
